How to Stage Your Home After Junk Removal
Learn how to stage your home after junk removal to create an inviting space that attracts buyers and maximizes your selling price.
How to Stage Your Home After Junk Removal
Home staging is defined as the process of preparing a property for sale by arranging furniture, decor, and space to appeal to the broadest range of buyers. When you stage home after junk removal, you are building on a cleared foundation to create a space buyers can emotionally connect with. Junk removal is not the finish line. It is the starting point. The rooms are empty, the clutter is gone, and now the real work begins: turning a cleared-out property into a compelling, market-ready home that sells faster and at a stronger price.
What preparatory steps should you take to stage home after junk removal?
The single most important rule in post-junk removal staging is this: clean before you decorate. Buyers notice grime, odors, and damage before they notice furniture. A thorough deep clean after junk removal reveals the true condition of floors, walls, and fixtures, and it tells you exactly what repairs are needed before any staging begins.
Start preparation 4–6 weeks before your listing date. That window gives you time to clean, repair, stage, and photograph without rushing. Rushing staging is one of the most common reasons homes sit on the market longer than they should.
Decluttering benchmarks that actually matter
Industry standards call for 60% of horizontal surfaces to be clear and 30–40% of personal items packed away before staging begins. That means countertops, shelves, and tabletops should look sparse by your current standards. Most homeowners underestimate how much still needs to go even after a junk removal crew has cleared the big items.
Here is a practical prep checklist to work through before staging:
- Deep clean every room including baseboards, windows, and inside cabinets
- Schedule a pre-listing home inspection, which typically costs $300–$600 and flags repairs before buyers do
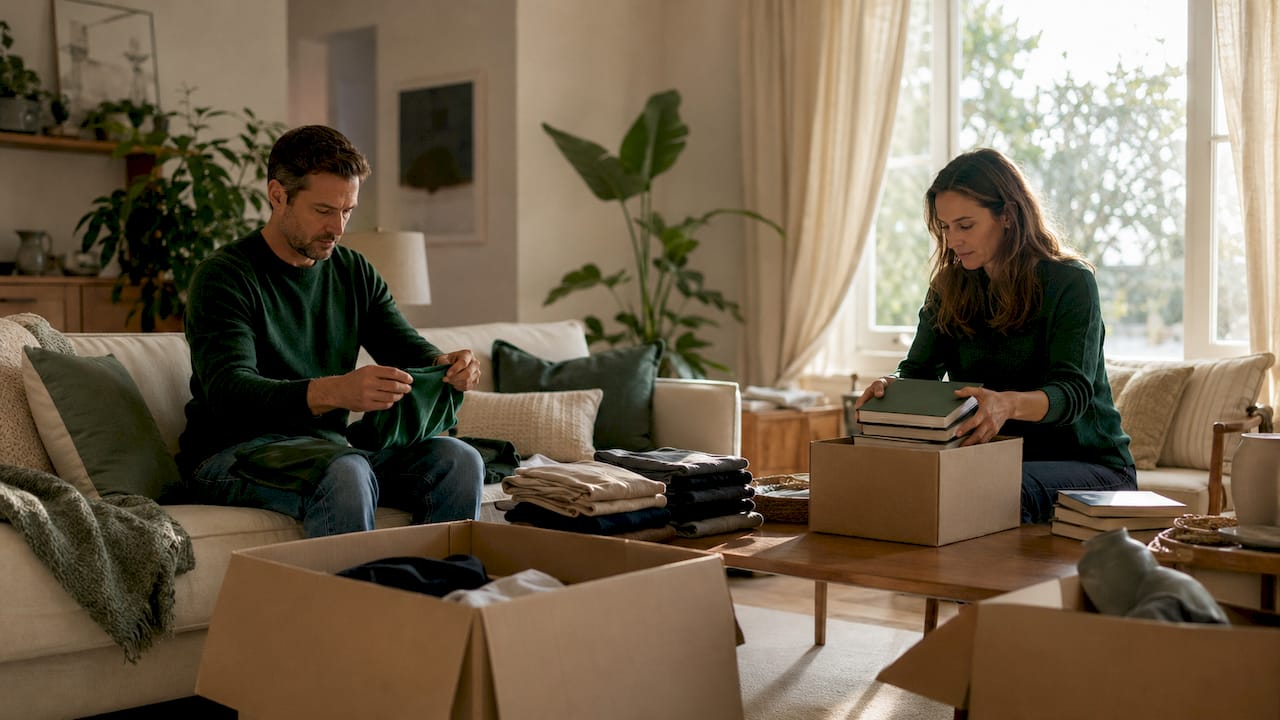
- Pack away 30–40% of remaining personal items including family photos, collections, and excess clothing
- Touch up paint in high-traffic areas and any rooms with visible scuffs or stains
- Repair minor damage such as loose handles, dripping faucets, and cracked switch plates
- Rent a storage unit if you need to clear furniture but want to keep it for your next home
Pro Tip: Before your junk removal crew arrives, sort items into “keep,” “donate,” and “remove” piles. This reduces onsite labor time, lowers your removal cost, and leaves you with a cleaner starting point for staging.
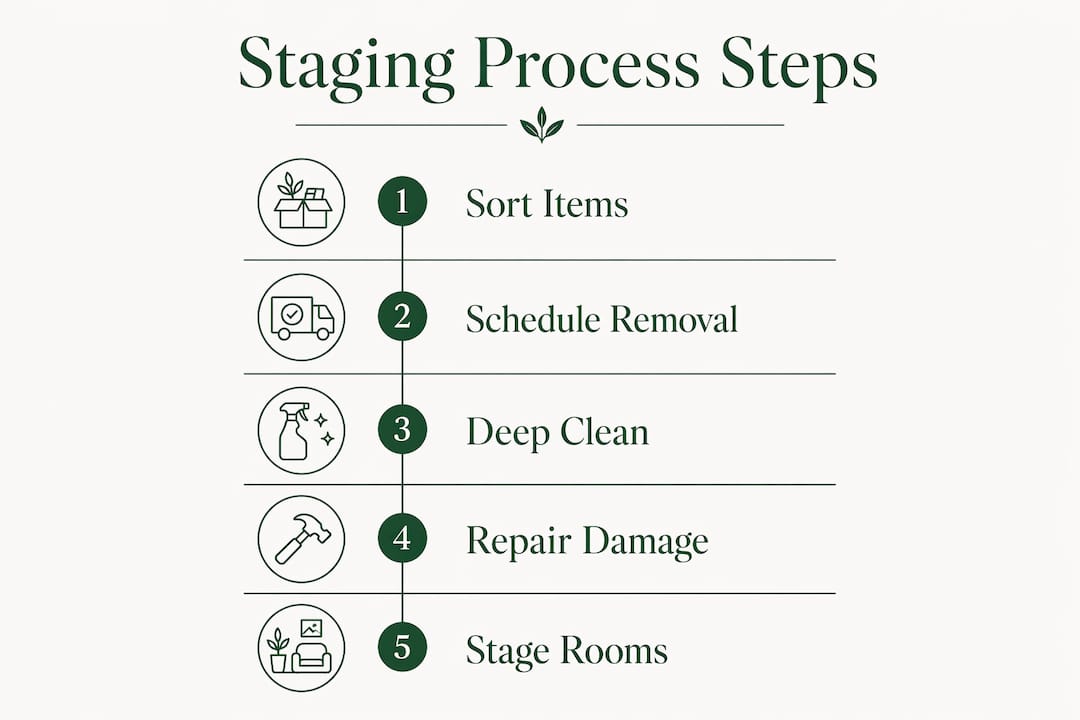
| Prep Task | Recommended Timing |
|---|---|
| Schedule junk removal | 5–6 weeks before listing |
| Deep clean and inspect | 4–5 weeks before listing |
| Complete repairs and paint | 3–4 weeks before listing |
| Stage rooms and photograph | 1–2 weeks before listing |
How do you stage each key room after junk removal?
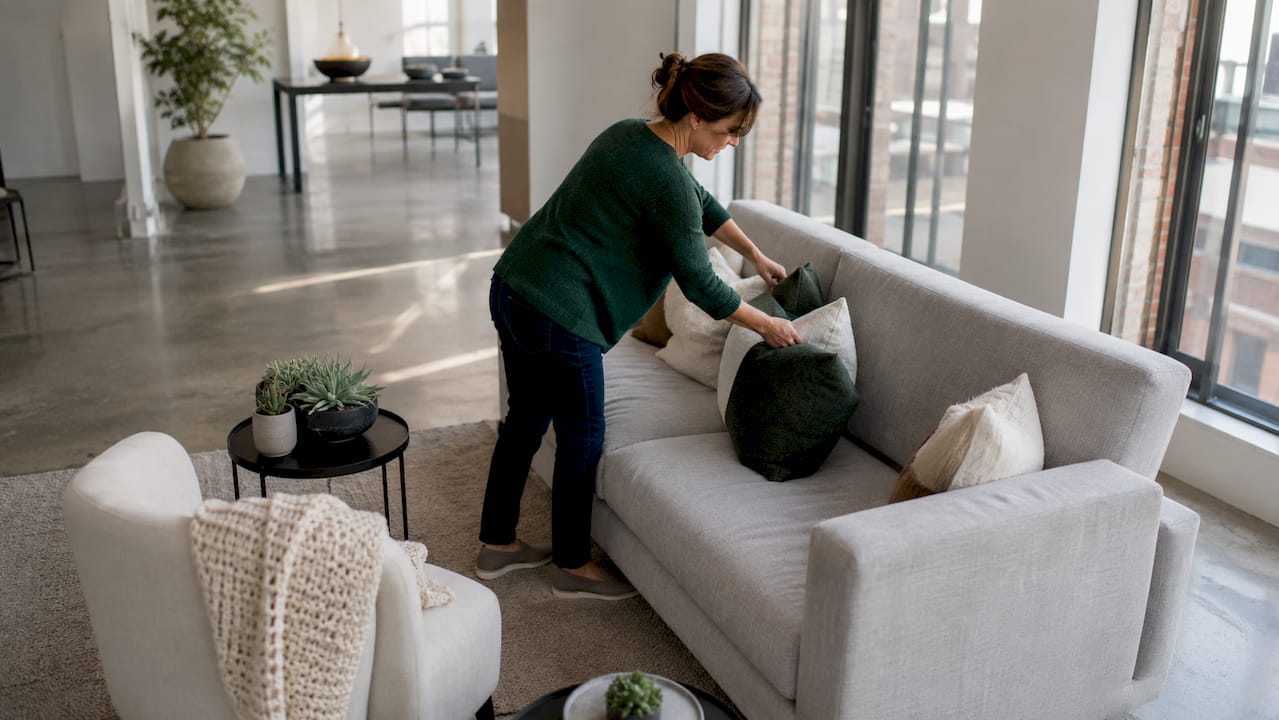
Effective staging begins with removing excess furniture and belongings to depersonalize and open the space. Luis Perez, a staging expert cited by Redfin, frames it clearly: staging is about subtraction, not addition. After junk removal, you already have a head start. Now you apply that same logic room by room.
Living room
- Arrange furniture to create conversation zones. Pull sofas and chairs away from walls. Group them around a central point like a coffee table or rug.
- Remove at least one large piece of furniture if the room feels crowded. A cleared path through the room reads as spacious in photos.
- Add one focal point. A simple piece of art, a mirror, or a styled bookshelf gives the eye somewhere to land.
- Maximize natural light. Remove heavy drapes and replace with sheer panels or leave windows bare if the view is appealing.
Kitchen
The kitchen is the room that sells homes. Clear every countertop except for one or two styled items, such as a cutting board and a small plant. Swap out dated cabinet hardware for brushed nickel or matte black pulls, which cost under $50 and photograph dramatically better. Add a bowl of fresh fruit or a simple herb pot to suggest warmth without clutter.
Bedrooms
- Use neutral bedding in white, gray, or soft beige. Bold patterns shrink a room visually.
- Remove at least one nightstand if the room is small. Symmetry matters, but space matters more.
- Add a single lamp on each remaining nightstand for warm, layered light.
- Clear closets to 50% capacity. Buyers open closets. A packed closet signals a lack of storage.
Bathrooms
Bathrooms require the least investment and deliver strong returns. Hang fresh white towels folded neatly on the rack. Remove all personal products from the counter and store them under the sink. Add a small plant or a single candle to suggest a spa-like feel. Replace any cracked or yellowed caulk before staging, as buyers notice it immediately.
Pro Tip: Walk through each staged room and look toward the windows. Rooms that face natural light photograph best in the morning. Schedule your listing photos at the time of day when each key room gets its best light.
Traditional staging vs. AI virtual staging: which is right for you?
Physical staging and AI virtual staging solve the same problem from different angles. Understanding the difference helps you spend your budget where it counts most.
Physical staging involves renting or repositioning real furniture and decor. DIY physical staging costs very little beyond your time, while professional staging services in Central Indiana typically run several hundred to a few thousand dollars depending on the number of rooms. The advantage is that buyers who tour in person see exactly what is in the listing photos.
AI virtual staging digitally transforms photos of empty or dated rooms. Virtual staging can cost as little as $0.60 per photo, making it one of the most cost-effective tools available for vacant properties. Lift My Place and similar platforms can render a furnished, styled room from a bare photo in hours. The result looks realistic enough to attract online interest and drive showings.
| Factor | Physical staging | AI virtual staging |
|---|---|---|
| Cost | $500–$3,000+ | $0.60–$30 per photo |
| Turnaround | Days to weeks | Hours |
| In-person accuracy | Exact match | Requires disclosure |
| Best for | Occupied or furnished homes | Vacant or dated rooms |
| Buyer trust | High | Moderate (with disclosure) |
One critical rule applies to virtual staging: you must disclose that listing photos have been digitally altered. Most state real estate boards and platforms like Zillow require this. Buyers who arrive at a vacant home expecting furnished rooms feel misled, and that erodes trust before the showing even begins.
Pro Tip: Blend both methods for the best outcome. Use physical staging in the living room and kitchen where buyers spend the most time during tours, and use AI virtual staging for secondary bedrooms and bonus rooms where the ROI on physical staging is lower.
Common mistakes to avoid when staging after junk removal
Staging a cluttered home is counterproductive and undermines every effort that follows. The most damaging mistakes happen when sellers rush or skip steps they assume do not matter.
- Staging before junk removal is complete. Buyers and photographers see everything. One cluttered corner in a listing photo can suppress online click-through rates significantly.
- Overcrowding rooms after clearing them. After junk removal, the instinct is to fill the space back up. Resist it. Empty space reads as square footage.
- Ignoring repairs. A fresh coat of paint costs under $100 per room and returns far more in perceived value. Skipping it signals neglect to buyers.
- Waiting until the last week before listing. Early junk removal coordination preserves photo-ready rooms and prevents last-minute scrambling that leads to poor staging decisions.
- Neglecting curb appeal. The front of the home is the first photo in every listing. Mow the lawn, clear the porch, and add a simple potted plant by the front door.
Pro Tip: Prioritize kitchens and living rooms in your staging efforts. These two rooms drive the most buyer interest and influence offers more than any other spaces in the home.
Key takeaways
Staging a home after junk removal works best when you treat the cleared space as a blank canvas and apply targeted, room-by-room improvements that help buyers picture themselves living there.
| Point | Details |
|---|---|
| Start 4–6 weeks early | Begin prep well before listing to allow time for cleaning, repairs, and staged photography. |
| Clear surfaces aggressively | Aim for 60% empty horizontal surfaces to make rooms feel open and spacious. |
| Prioritize high-impact rooms | Focus staging energy on kitchens and living rooms, which drive the most buyer decisions. |
| Consider virtual staging | AI tools can transform vacant rooms at a fraction of physical staging costs. |
| Disclose digital alterations | Always inform buyers when listing photos include virtually staged elements. |
What I have learned from staging homes after cleanouts
By Olga
Most sellers think staging is about adding things. After years of working with homeowners and estate executors across Central Indiana, I can tell you the opposite is true. The homes that sell fastest are the ones where we had the courage to take more away.
Interior designer Meridith Baer puts it well: view your home objectively as if you are seeing it for the first time. That is genuinely hard to do in a space you have lived in for years. It is even harder in an estate situation, where every item carries emotional weight. But buyers do not see memories. They see square footage, light, and potential.
The advice I give every client is this: do not wait until you feel ready to let go of things. Start with the obvious items, get junk removal scheduled early, and let the cleared space show you what needs to happen next. A room that has been properly cleared and cleaned almost stages itself. The furniture arrangement and decor are the last 20% of the work, not the first.
I also push back on the idea that staging requires a big budget. Some of the most effective staging I have seen involved nothing more than rearranged existing furniture, fresh white towels in the bathroom, and a bowl of lemons on the kitchen counter. Strategic simplicity beats expensive renovation every time when the goal is a fast, strong sale.
— Olga
How Ohanapropertyexperts can help you get there
Getting a property ready to stage starts with a thorough cleanout, and that is exactly what Ohanapropertyexperts does every day across Columbus, Greenwood, Indianapolis, and surrounding Central Indiana communities.
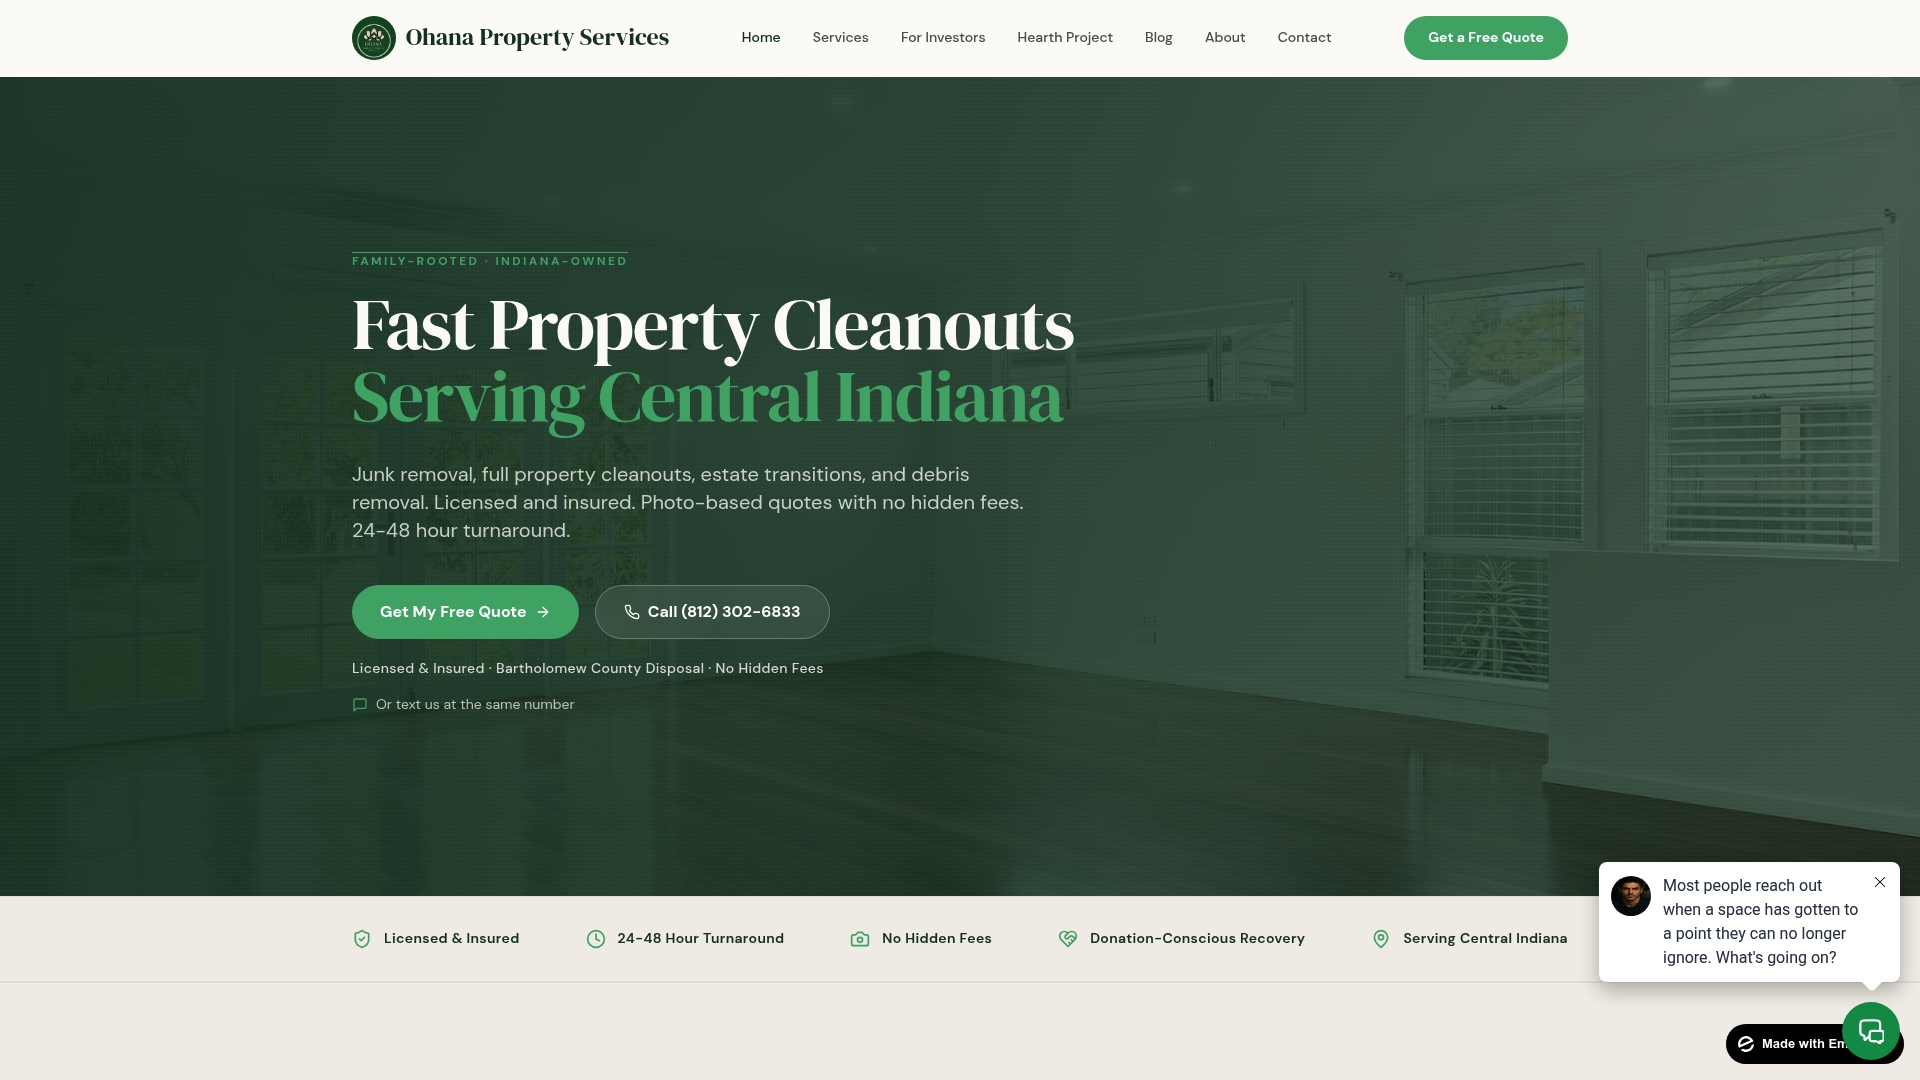
Whether you are a homeowner clearing decades of belongings or an estate executor managing a full property transition, Ohanapropertyexperts handles estate cleanouts, furniture removal, appliance hauling, and full property cleanouts so you can move straight into staging without delay. Our team works fast, communicates clearly, and treats every property with care. We offer free estimates and are ready to help you create the clean foundation your staging plan needs. Call us at (812) 302-6833 or visit our services page to get started.
FAQ
What does it mean to stage a home after junk removal?
Staging after junk removal means transforming a cleared property into a buyer-ready space through furniture arrangement, targeted decor, and essential repairs. Junk removal creates the blank canvas; staging makes it compelling to buyers.
How long does it take to stage a home after junk removal?
Start the full process 4–6 weeks before your listing date to allow time for cleaning, repairs, and staging without rushing. Rushing staging leads to poor decisions that hurt your listing photos and showing results.
Is AI virtual staging a good option after junk removal?
AI virtual staging works well for vacant or dated rooms and can cost as little as $0.60 per photo. Always disclose digitally altered images to buyers to maintain trust and comply with real estate platform rules.
Which rooms should I stage first after junk removal?
Focus on kitchens and living rooms first, as these spaces have the greatest influence on buyer decisions and offer the strongest return on your staging investment.
Do I need to sort junk before the removal crew arrives?
Sorting items into “keep,” “donate,” and “remove” categories before pickup reduces onsite labor time and lowers your overall removal cost. It also leaves you with a cleaner, more organized starting point for staging.