Post-Renovation Debris Hauling: A Homeowner's Guide
Discover what post-renovation debris hauling is and learn how to efficiently handle construction waste after your renovation. Ensure a safe, clean space!
Post-Renovation Debris Hauling: A Homeowner’s Guide
Post-renovation debris hauling is the organized removal of all leftover construction waste from a property after a renovation project is complete. The industry term is construction and demolition (C&D) debris removal, and it covers everything from broken drywall and lumber scraps to old fixtures, concrete rubble, and packaging materials. Proper hauling is not optional. It determines whether your renovated space is safe, code-compliant, and ready for occupancy. Your three main options are DIY hauling, dumpster rental, and full-service debris hauling companies like Ohanapropertyexperts, each with distinct cost and compliance implications.
What is post-renovation debris hauling and why does it matter?
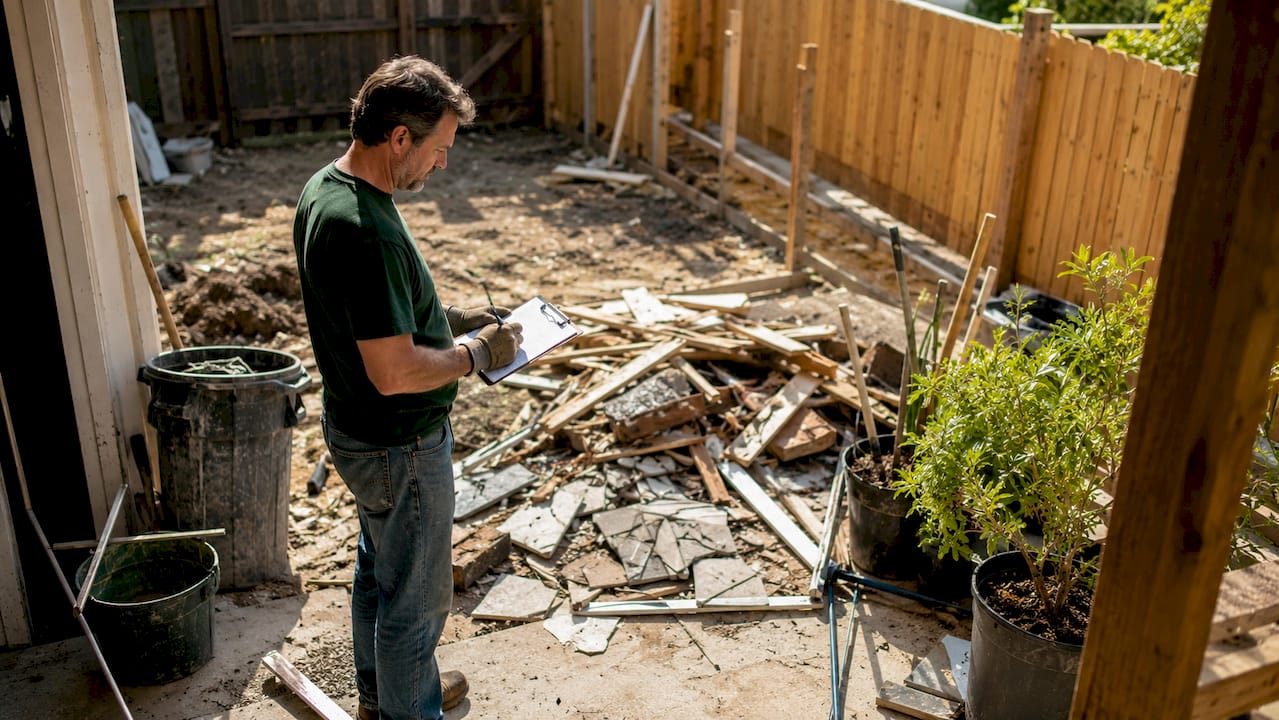
Post-renovation debris hauling is the collection, transport, and disposal of all waste materials generated during a home or commercial renovation. The U.S. construction industry produces roughly 600 million tons of C&D debris annually. That figure exceeds the total volume of municipal solid waste by more than twice, which tells you how seriously this category of waste needs to be managed.
Renovation debris is not like ordinary household trash. Curbside trash services generally do not accept construction debris, which means you need a deliberate plan before the last nail is driven. Failing to plan leads to debris sitting on-site, creating safety hazards, blocking access, and potentially violating local ordinances. For homeowners in Central Indiana, that can mean fines or delays in getting a final inspection passed.
The core purpose of post-renovation waste removal is simple: clear the site completely so the space can be used safely. That means removing bulk waste, sorting materials correctly, and disposing of everything according to local regulations.
What types of debris does a renovation produce?
Understanding what you are dealing with makes sorting and disposal far easier. Renovation projects generate several distinct categories of waste, and mixing them together is one of the most expensive mistakes you can make.
Common renovation debris types include:
- Drywall and plaster: Heavy, bulky, and often recyclable if kept separate and dry
- Wood scraps and lumber: Dimensional lumber, trim, and subflooring that can often be donated or recycled
- Concrete and masonry: Extremely heavy; many facilities charge by weight, so volume estimates can mislead you
- Metal: Copper pipe, steel studs, aluminum flashing; scrap metal dealers often take these for free or at a credit
- Fixtures and appliances: Toilets, sinks, cabinets, and light fixtures that may still have resale or donation value
- Packaging materials: Cardboard, foam, plastic wrap from new materials; these are high-volume but low-weight
- Hazardous materials: Asbestos insulation, lead paint, and certain adhesives require licensed disposal and cannot go in a standard dumpster
Mixed debris loads cost more to dispose of because facilities must sort them manually. Source separation can cut disposal fees by 50% or more by enabling recycling of specific material streams instead of sending everything to a landfill. That is a meaningful savings on any mid-size renovation.
Pro Tip: Set up labeled collection zones on-site before demolition begins. One area for wood, one for metal, one for drywall, and one for general waste. Sorting at the source takes minutes; sorting after the fact takes hours.
Hazardous materials deserve special attention. Asbestos is present in many homes built before 1980, particularly in floor tiles, pipe insulation, and ceiling texture. Lead paint is common in homes built before 1978. Both require licensed abatement contractors and cannot be hauled with standard debris removal services.
How much debris will your renovation produce?
Estimating debris volume before you rent a container or schedule a pickup saves money and prevents the frustration of running out of space mid-project.
An average renovation generates about 60 pounds of waste per square foot, with a typical volume of 1–3 cubic yards per 100 square feet. A 500-square-foot kitchen remodel could produce 5–15 cubic yards of debris. That is a meaningful range, and the difference depends heavily on whether you are doing a cosmetic refresh or a full gut renovation.
Landfill disposal costs range from $150 to $250 per ton, and dumpster rentals for home renovations typically run $300–$750 depending on container size and your location. Weight limits are a hidden trap. Weight restrictions frequently limit debris hauling loads even when the container still has visual space. Concrete and tile are notorious for maxing out weight limits long before a container looks full.
| Dumpster Size | Capacity | Best For | Average Cost |
|---|---|---|---|
| 10-yard | 3–4 tons | Small bathroom or single-room remodel | $300–$450 |
| 20-yard | 4–6 tons | Kitchen remodel or multi-room renovation | $450–$600 |
| 30-yard | 7–9 tons | Full home renovation or addition | $550–$750 |
| 40-yard | 10–12 tons | Large commercial or whole-house gut | $650–$850 |
Pro Tip: If your project involves concrete, brick, or tile, rent a smaller container than you think you need and fill it with heavy materials only. Order a second container for lighter debris. This keeps you under weight limits and avoids overage fees.
Renting a dumpster also requires permits in many municipalities, especially if the container will sit on a public street or sidewalk. Check with your local city or county office before delivery to avoid fines.
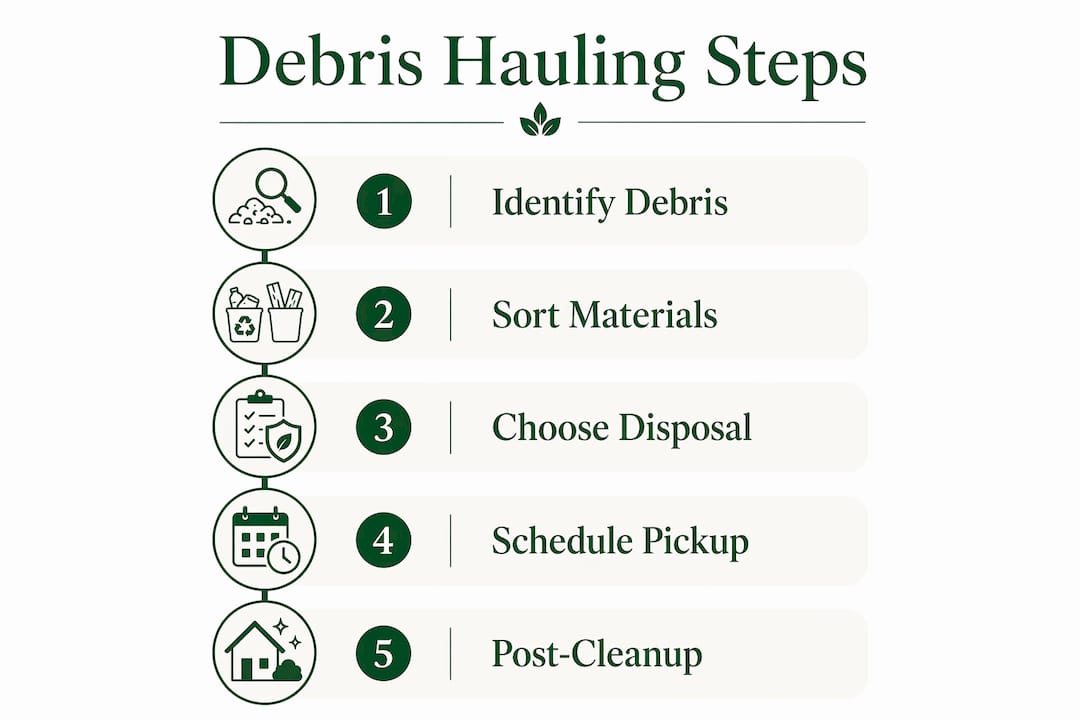
What are the best methods for construction debris disposal?
Three primary methods handle post-construction cleanup, and each fits a different project size and budget.
1. DIY Hauling You rent a truck or trailer and make trips to a local transfer station or landfill yourself. This works for very small projects. Attempting to haul debris yourself often results in multiple trips, higher fuel costs, and physical strain compared to hiring a full-service crew. Factor in your time, vehicle wear, landfill gate fees, and the physical labor before assuming this is the cheapest route.
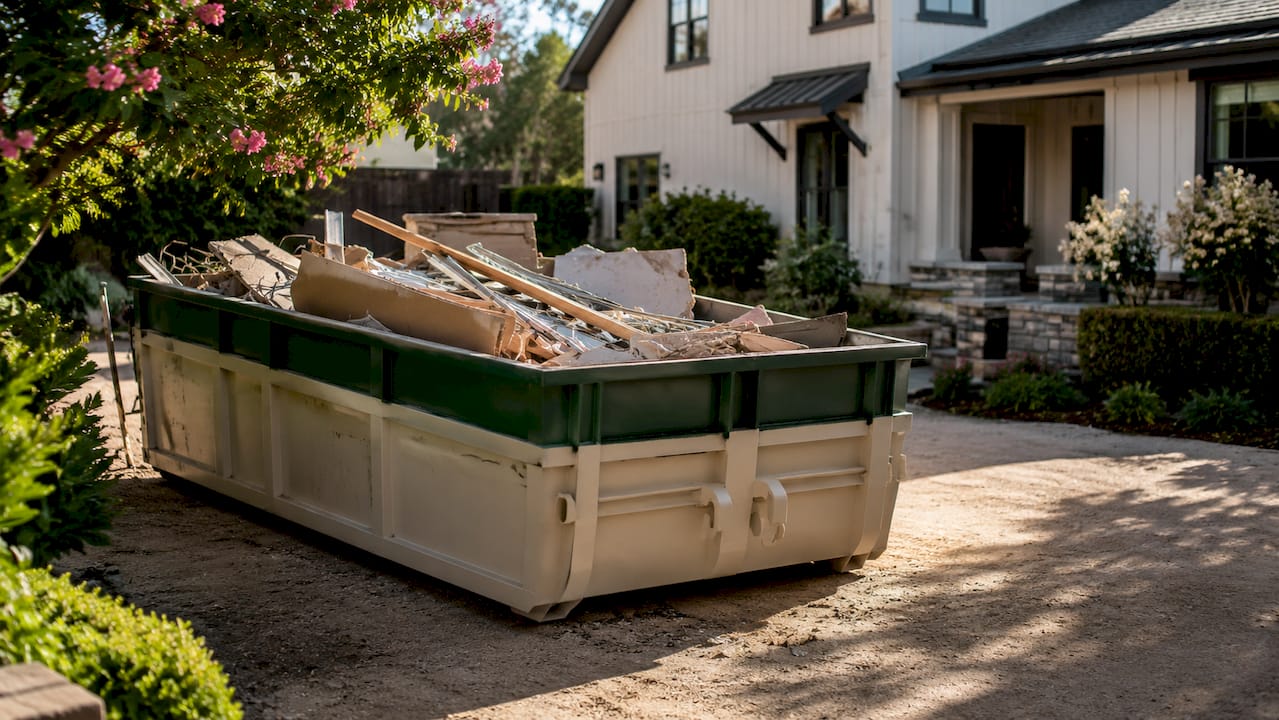
2. Dumpster Rental You rent a roll-off container, fill it at your own pace, and the rental company hauls it away when you call. This is a good fit for contractors managing their own timelines. The downsides are permit requirements, placement logistics, and the weight limit issue described above.
3. Full-Service Debris Hauling A crew arrives, loads everything, and hauls it away in one visit. Professional hauling services understand local regulations for sorting and disposing of hazardous materials, which prevents rejected loads and the extra fees that come with them. For most homeowners, this is the most efficient option.
Best practices regardless of method:
- Protect floors and doorways with plywood or moving blankets before hauling begins
- Never mix hazardous materials with general debris
- Confirm weight limits with your hauler before loading heavy materials
- Schedule hauling before your final walkthrough or inspection
- Ask your hauler whether they recycle or donate salvageable materials
Local regulations often require dividing debris into specific categories to comply with landfill acceptance policies. A rejected load means extra transport fees and delays. Professional haulers handle this sorting as part of their service, which is a real advantage for homeowners unfamiliar with local rules.
Why post-hauling deep cleaning is a separate step
Removing bulk debris does not mean your renovation site is clean. Fine construction dust settles into every surface, vent, and crevice during a renovation. Post-renovation cleanup is a two-phase process: bulk debris hauling followed by specialized deep cleaning to remove fine dust and hazardous residues.
Skipping the second phase is a common mistake. Drywall dust, silica from concrete cutting, and wood particles are respiratory hazards. They also coat surfaces in a fine gray film that makes a freshly renovated space look unfinished.
Steps for effective post-hauling cleanup:
- Vacuum all surfaces with a HEPA-filter vacuum before any wet cleaning
- Dry dust before wet cleaning to avoid turning fine dust into a muddy paste that smears and is harder to remove
- Clean HVAC vents and replace filters, since construction dust clogs systems quickly
- Wipe down walls, trim, and cabinetry with a damp microfiber cloth
- Mop hard floors last, after all overhead surfaces are clean
Pro Tip: Run your HVAC fan on the highest setting with a fresh filter for 24 hours after cleaning. This pulls airborne particles through the filter and dramatically improves air quality before you move back in.
Professional post-renovation cleaning crews use commercial-grade HEPA vacuums and specialized surface treatments that go beyond what a standard mop and bucket can accomplish. For properties being listed for sale or prepared for tenants, professional cleaning is worth the investment.
How to cut costs and reduce environmental impact
Smart waste management after renovation saves money and keeps usable materials out of landfills. The strategies below work for both homeowners managing a single project and contractors handling multiple sites.
- Sort at the source. Separated loads of wood, metal, and drywall each have recycling pathways. Mixed loads go straight to the landfill at full tipping fees.
- Donate before you demo. Cabinets, doors, fixtures, and lumber in good condition can go to Habitat for Humanity ReStores, local salvage shops, or community groups. Donation avoids disposal fees entirely.
- Research local recycling facilities. Many municipalities have dedicated C&D recycling centers that accept concrete, asphalt, and clean wood at lower rates than general landfills.
- Choose haulers with eco-conscious practices. Ask any hauler what percentage of collected material they divert from landfills. Responsible haulers can typically answer that question specifically.
- Avoid common cost mistakes. Overfilling a dumpster triggers overage fees. Mixing hazardous materials with general waste causes rejected loads. Scheduling hauling too early means debris accumulates again before the project ends.
Pro Tip: Before demolition, walk through the space with a contractor or salvage professional. Identifying reusable materials before they are broken up can save hundreds of dollars in disposal fees and generate donation receipts for your taxes.
Source separation is the single most effective strategy for reducing both disposal costs and environmental footprint. The math is straightforward: sorted materials get recycled, recycled materials avoid landfill tipping fees, and lower tipping fees mean lower total project costs. You can learn more about minimizing debris disposal expenses on the Ohanapropertyexperts blog.
Key takeaways
Post-renovation debris hauling requires planning, proper sorting, and the right removal method to stay on budget and on the right side of local regulations.
| Point | Details |
|---|---|
| Define the debris types early | Identify hazardous materials before demolition to avoid rejected loads and extra fees. |
| Estimate volume accurately | Plan for 1–3 cubic yards of debris per 100 square feet to choose the right container size. |
| Sort at the source | Separating materials by type can cut disposal costs by 50% or more. |
| Budget for weight limits | Heavy materials like concrete max out weight limits before containers look full. |
| Clean in two phases | Bulk hauling must be followed by HEPA vacuuming and surface cleaning to achieve occupancy-ready results. |
What i’ve learned after handling hundreds of renovation cleanouts
Most homeowners underestimate two things: the weight of their debris and the time the second cleaning phase takes. I have seen beautifully renovated kitchens that sat unusable for weeks because the owners did not plan for debris removal until the last day of the project. By then, the dumpster company had a two-week wait, and the contractor had moved on to the next job.
The other misconception I run into constantly is that hauling and cleaning are the same step. They are not. You can have every piece of debris off the property and still have a space that is not safe to occupy because of fine silica dust in the air and on every surface. Treating these as two separate, budgeted line items from the start of your project changes the outcome completely.
Local weight restrictions catch people off guard more than almost anything else. A homeowner in Columbus, Indiana recently told me they rented a 20-yard dumpster for a bathroom tile removal project and hit the weight limit with the container less than half full. That meant a second haul, a second fee, and a two-day delay. Knowing that concrete and ceramic tile are extremely dense before you start would have changed the container choice entirely.
My honest advice: call a professional hauler before your project starts, not after. Get a free estimate, ask about weight limits and permit requirements in your specific area, and build hauling into your project timeline. The cost of planning is zero. The cost of not planning shows up in overage fees, rejected loads, and delays.
— Olga
Ready to clear your renovation site? Ohanapropertyexperts can help

Ohanapropertyexperts is a family-owned debris hauling and property cleanout company serving Columbus, Seymour, Greenwood, Indianapolis, and surrounding Central Indiana communities. We handle construction debris removal for homeowners and contractors, from single-room remodels to full property cleanouts. Our team is licensed, insured, and familiar with local disposal regulations, so you do not have to figure out permits, weight limits, or landfill requirements on your own. We offer free estimates with no obligation. Explore our full range of services or call us directly at (812) 302-6833 to schedule your pickup.
FAQ
What does post-renovation debris hauling include?
Post-renovation debris hauling covers the collection, loading, transport, and disposal of all construction waste generated during a renovation, including drywall, lumber, concrete, fixtures, and packaging materials.
Can i put renovation debris in my regular trash?
No. Curbside trash services generally do not accept construction debris. You need a dumpster rental, a full-service hauling company, or a trip to a licensed transfer station or landfill.
How much does renovation debris removal cost?
Dumpster rentals for home renovations typically run $300–$750, while landfill disposal fees range from $150 to $250 per ton. Full-service hauling costs vary by volume, location, and material type.
Do i need a permit for a dumpster rental?
Many municipalities require permits when a dumpster sits on a public street or sidewalk. Check with your local city or county office before scheduling delivery to avoid fines and delays.
How do i dispose of hazardous renovation materials?
Hazardous materials like asbestos and lead paint require licensed abatement contractors and cannot go in standard dumpsters. Contact your local environmental or waste management authority for approved disposal options in your area.